Essential Photography Tips for Real Estate Listings
15 September 2025
When it comes to selling a home, first impressions matter—a lot. In today’s digital world, homebuyers scroll through listings like they browse social media. If a listing doesn’t have eye-catching photos, chances are, potential buyers will keep scrolling. That’s why real estate photography isn’t just an afterthought—it’s a game-changer.
Good real estate photography can make a property feel warm, inviting, and, most importantly, desirable. So, whether you’re a real estate agent, a homeowner looking to sell, or an aspiring real estate photographer, this guide will help you capture stunning photos that attract buyers and seal the deal.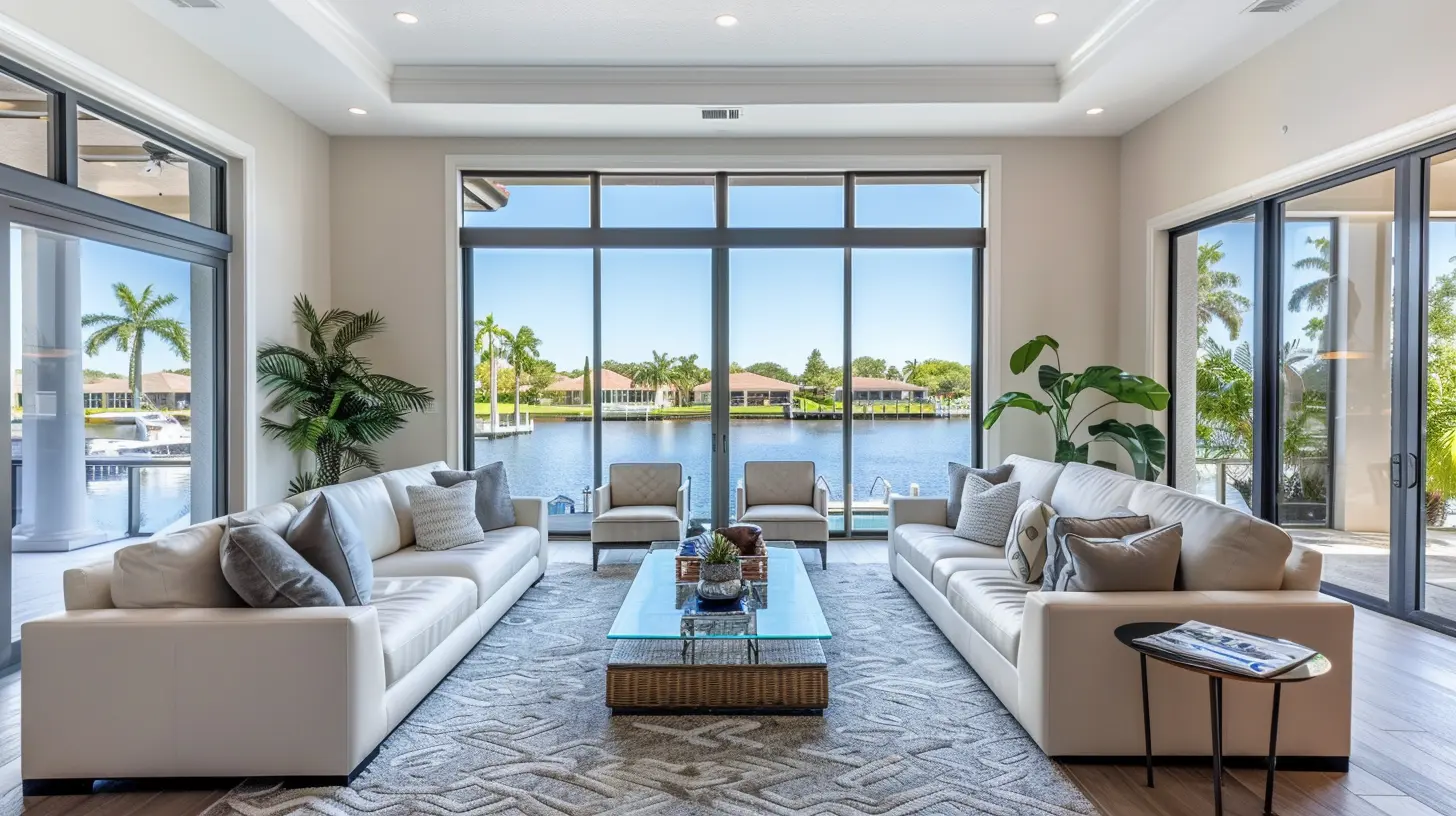
Why Quality Real Estate Photos Matter
Think about the last time you scrolled through a home listing. What’s the first thing that caught your eye? The photos, right?High-quality real estate photography can:
- Generate More Interest – Listings with professional photos receive more views and engagement online.
- Sell Homes Faster – Homes with high-quality images sell quicker than those with poor or no images.
- Increase Perceived Value – Great photos can even justify a higher asking price.
Bad photos, on the other hand, can make even the most beautiful home look unappealing. So, let’s dive into the essential photography tips that will make your listings shine!
1. Use the Right Equipment
You don’t need the most expensive camera, but a good DSLR or mirrorless camera will significantly improve your photos. Here are the must-have tools:- Camera – A full-frame DSLR or mirrorless camera with a wide-angle lens is ideal.
- Wide-Angle Lens – A 16-24mm lens (or equivalent) captures more of the room and makes spaces look larger.
- Tripod – Keeps your shots steady and ensures consistency.
- External Flash – Helps brighten up darker spaces without making the lighting look artificial.
- Photo Editing Software – Post-processing can correct exposure, color balance, and minor imperfections.
If you’re just starting out and using a smartphone, make sure it has a high-quality camera and consider using a wide-angle attachment.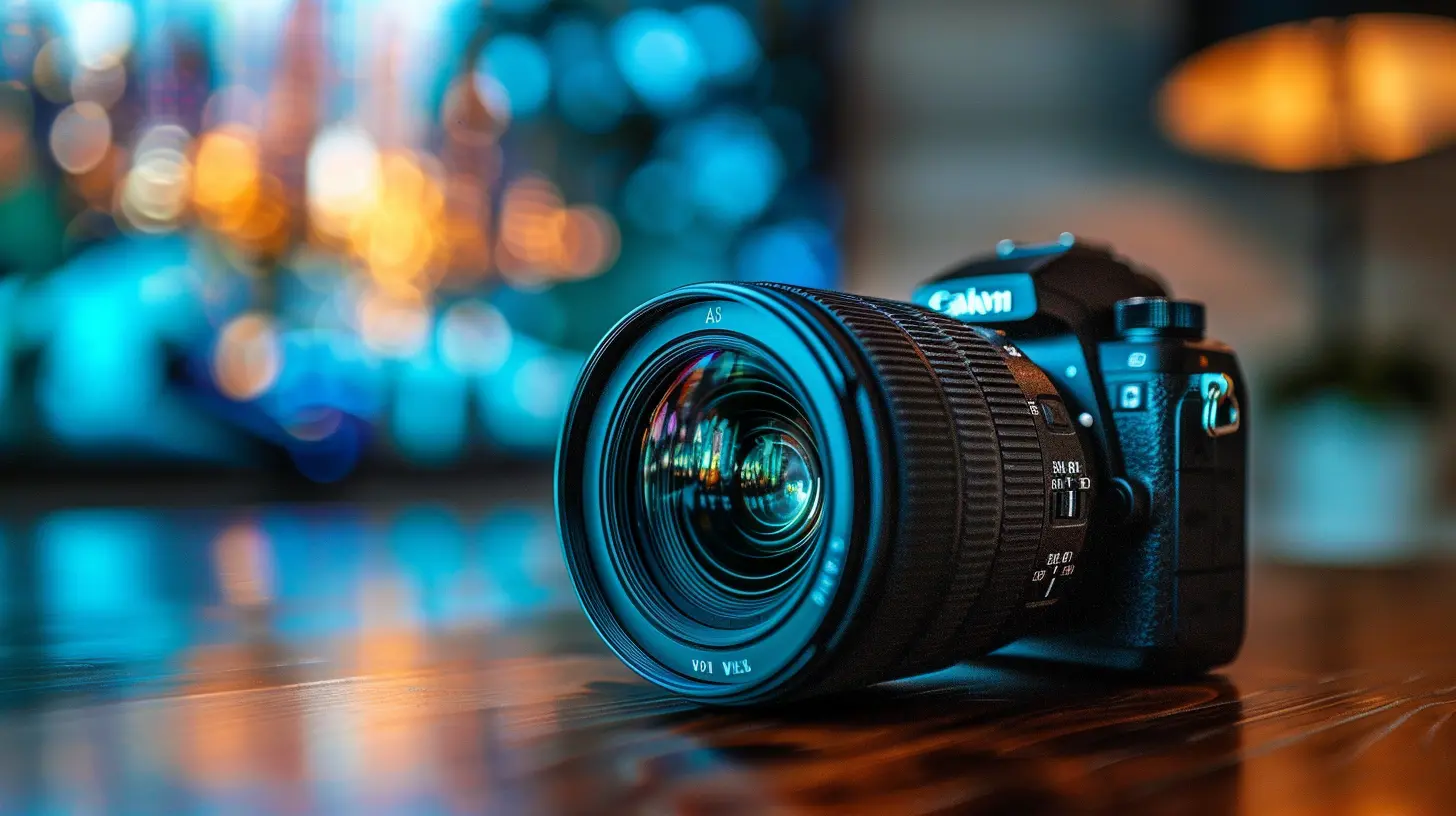
2. Master Natural Lighting
Lighting can make or break your real estate photos. Ideally, you want to shoot when there is plenty of natural light.- Shoot During the Day – Mid-morning or late afternoon light works best, as it’s soft and even.
- Open Curtains and Blinds – Maximize the natural light entering the room.
- Turn On All Interior Lights – This will add warmth and balance to the lighting.
- Avoid Harsh Shadows – Overexposed windows and strong shadows can make a space look uninviting.
If a room lacks natural light, use artificial lighting carefully to avoid harsh contrasts.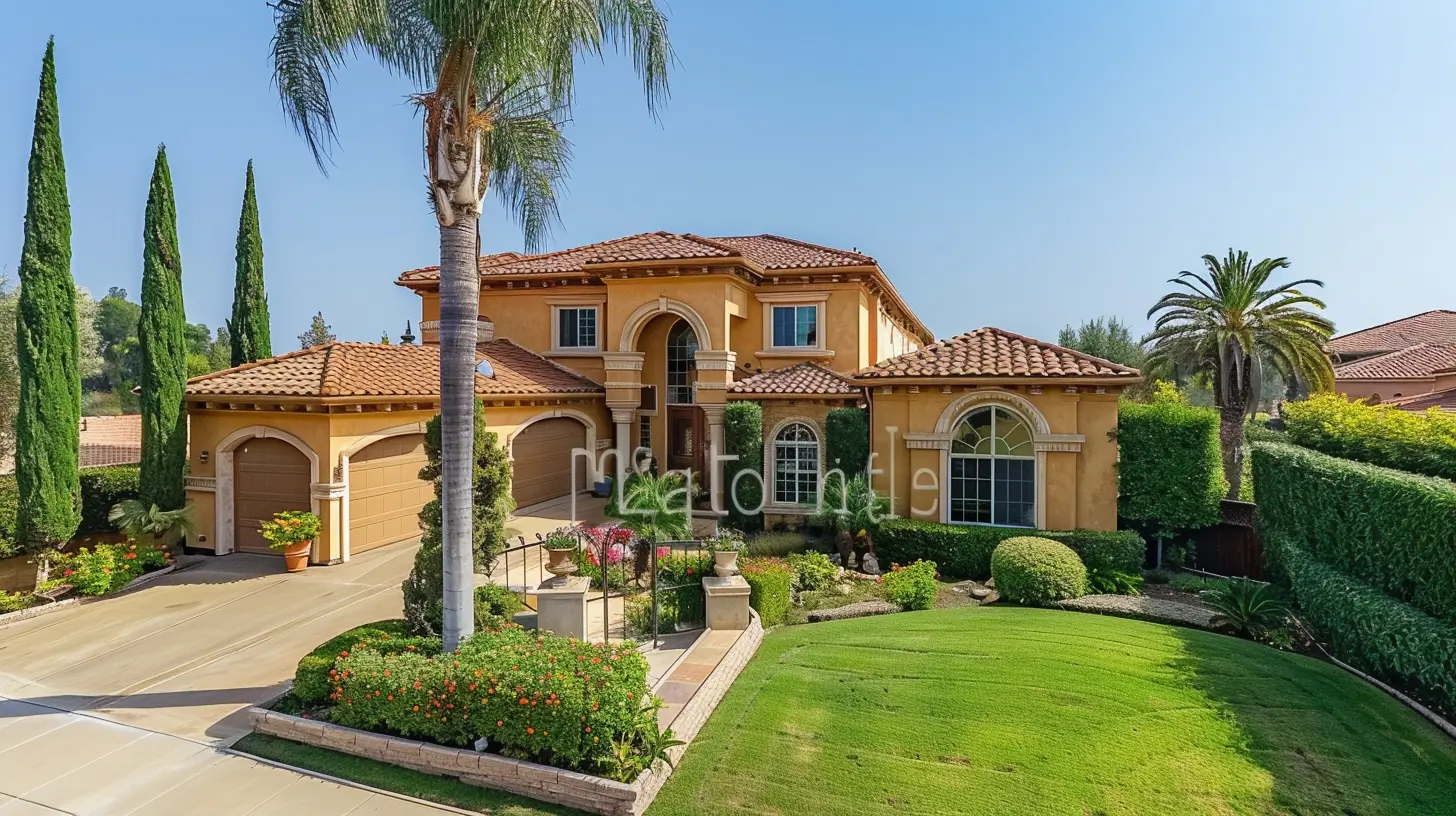
3. Find the Best Angles
Your goal is to make each space look as inviting and spacious as possible. Here’s how to get the best angles:- Shoot from the Corner – This creates depth and makes rooms look larger.
- Keep the Camera at Eye Level – Too high or too low will distort the perspective.
- Shoot Straight-On – Avoid extreme angles that make walls or ceilings look warped.
Experiment with different perspectives, but always aim for a balanced and natural look.
4. Declutter and Stage the Space
A messy room can distract potential buyers from seeing the home’s true potential. Before shooting:- Remove Personal Items – Minimize family photos, toys, and clutter.
- Stage the Home – Add fresh flowers, decorative pillows, or a centerpiece.
- Ensure Cleanliness – Wipe surfaces, make the beds, and straighten up furniture.
A home that looks polished and well-organized will photograph much better.
5. Composition Matters
Great real estate photography isn’t just about snapping pictures; it’s about composing an image that tells a story.- Use the Rule of Thirds – Align key elements along grid lines for a balanced composition.
- Showcase Flow – Capture photos that help buyers understand how rooms connect.
- Include a Focal Point – Draw attention to key features like a fireplace, large windows, or an open-concept kitchen.
A well-composed photo guides the viewer’s eye and creates an emotional connection.
6. Capture Exterior and Interior Shots
Don’t just focus on the inside—curb appeal is just as important.Exterior Shots:
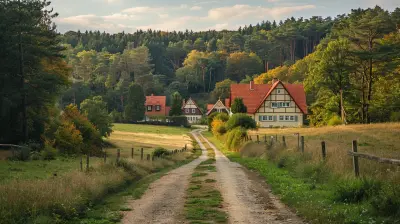
- Capture the front of the home from a slightly angled perspective.- Take shots during the “golden hour” (just after sunrise or before sunset) for warm lighting.
- Showcase the landscaping, patio, or backyard.
Interior Shots:
- Focus on the main living areas—living room, kitchen, bedrooms, and bathrooms.- Highlight unique architectural details like vaulted ceilings or hardwood floors.
- Show spaciousness without overexaggerating—it should look inviting yet realistic.
Make sure to capture enough photos to give buyers a full picture of the property.
7. Edit for a Polished Look
Even the best photos can benefit from a little touch-up. Post-processing can enhance lighting, correct colors, and remove minor distractions.- Adjust Brightness and Contrast – Ensure the image isn’t too dark or overly bright.
- Correct White Balance – Avoid yellowish or bluish tints.
- Remove Unwanted Items – Edit out small distractions like a misplaced object or power cords.
- Enhance Details – Slightly sharpen the image for a crisp, clean look.
There are plenty of editing tools available, from Adobe Lightroom to free apps like Snapseed.
8. Avoid Common Real Estate Photography Mistakes
To ensure your photos look professional, steer clear of these common pitfalls:- Overexposing Windows – Balance interior and exterior lighting to avoid a washed-out effect.
- Crooked Angles – Keep vertical lines straight to maintain a natural perspective.
- Cluttered Spaces – Remove distractions to keep the focus on the home itself.
- Overediting – Keep edits subtle; overly bright or saturated photos look unnatural.
- Using a Fisheye Lens – While it captures more space, it can distort the proportions.
By avoiding these mistakes, your photos will look polished and professional.
9. Showcase the Property’s Best Features
Every home has unique selling points—make sure your photos highlight them.- Stunning Views? Capture them through windows or from the balcony.
- Open Floor Plan? Shoot wide shots to emphasize spaciousness.
- Cozy Fireplace? Make it the focal point of the living room shot.
- Updated Kitchen? Capture sleek countertops and modern appliances.
Focusing on standout features can make a property more appealing to buyers.
10. Consider Hiring a Professional
If photography isn’t your strong suit or if the property is high-end, hiring a professional real estate photographer can be worth the investment. They have the skill and equipment to showcase a home in the best possible way, potentially leading to a quicker and higher-priced sale.Final Thoughts
Great real estate photography isn’t just about making a home look good—it’s about telling a story and helping potential buyers visualize their future in that space. With the right approach, equipment, and techniques, you can capture stunning images that grab attention, spark interest, and ultimately sell homes faster.So, the next time you take real estate listing photos, remember: light it right, stage it well, and capture the best angles. Happy shooting!
all images in this post were generated using AI tools
Category:
Real Estate MarketingAuthor:

Elsa McLaurin
Discussion
rate this article
1 comments
Keira Heath
Great article! Your tips for real estate photography are invaluable. Capturing a property's essence can truly make a difference. Thank you for sharing such helpful insights for agents and sellers alike!
September 23, 2025 at 3:24 AM
Elsa McLaurin
Thank you for your kind words! I'm glad you found the tips helpful for showcasing properties effectively. Happy shooting!