How to Prepare Your Old Home for Moving Day
23 October 2025
Getting ready to move out of your old home? It’s exciting, stressful, emotional – basically, a whirlwind. But before the moving truck pulls up and you wave goodbye to the place you’ve called home, there's some groundwork to cover. Prepping your old house for moving day isn’t just about boxing up your stuff — it’s about leaving the place in good shape, staying organized, and saving yourself a massive headache later.
Don’t worry, we’ve got your back. Whether you're downsizing, upgrading, or just shifting zip codes, this guide walks you through step-by-step how to properly prepare your old home so moving day doesn’t turn into a disaster movie. Let’s dive in.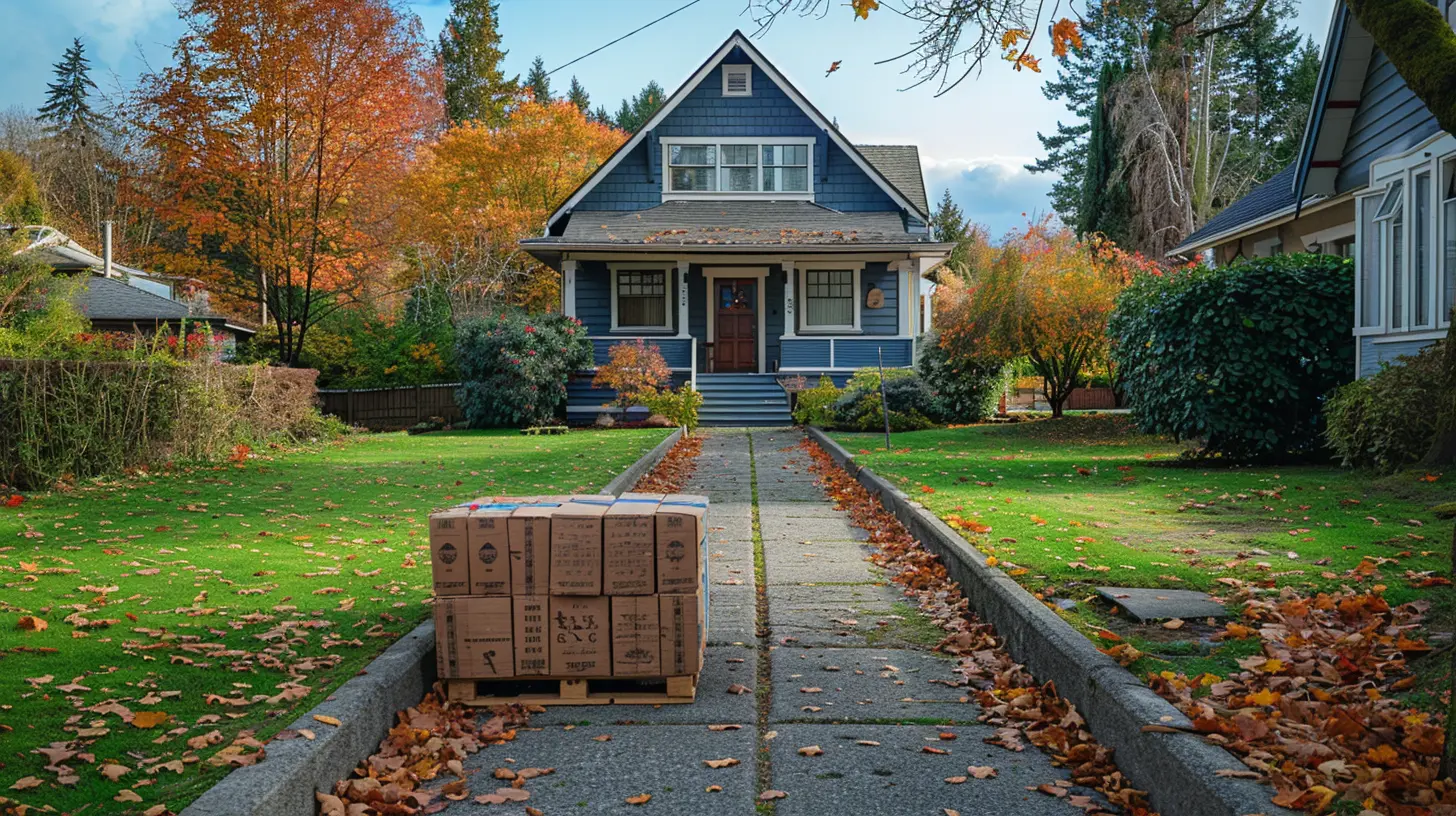
Why Prepping Your Old Home Matters More Than You Think
Moving isn't just about leaving one place and showing up at another. There’s a lot to wrap up before you can move forward. Think unpaid utility bills, forgotten items in the attic, or scratched-up walls you didn’t notice until you pulled the couch away.Failing to prep your home before moving day can mean lost security deposits (if you’re renting), delayed closings (if you're selling), or even a sour start for the next homeowners.
Think of your old home as a chapter you're closing — and you want to leave it tidy.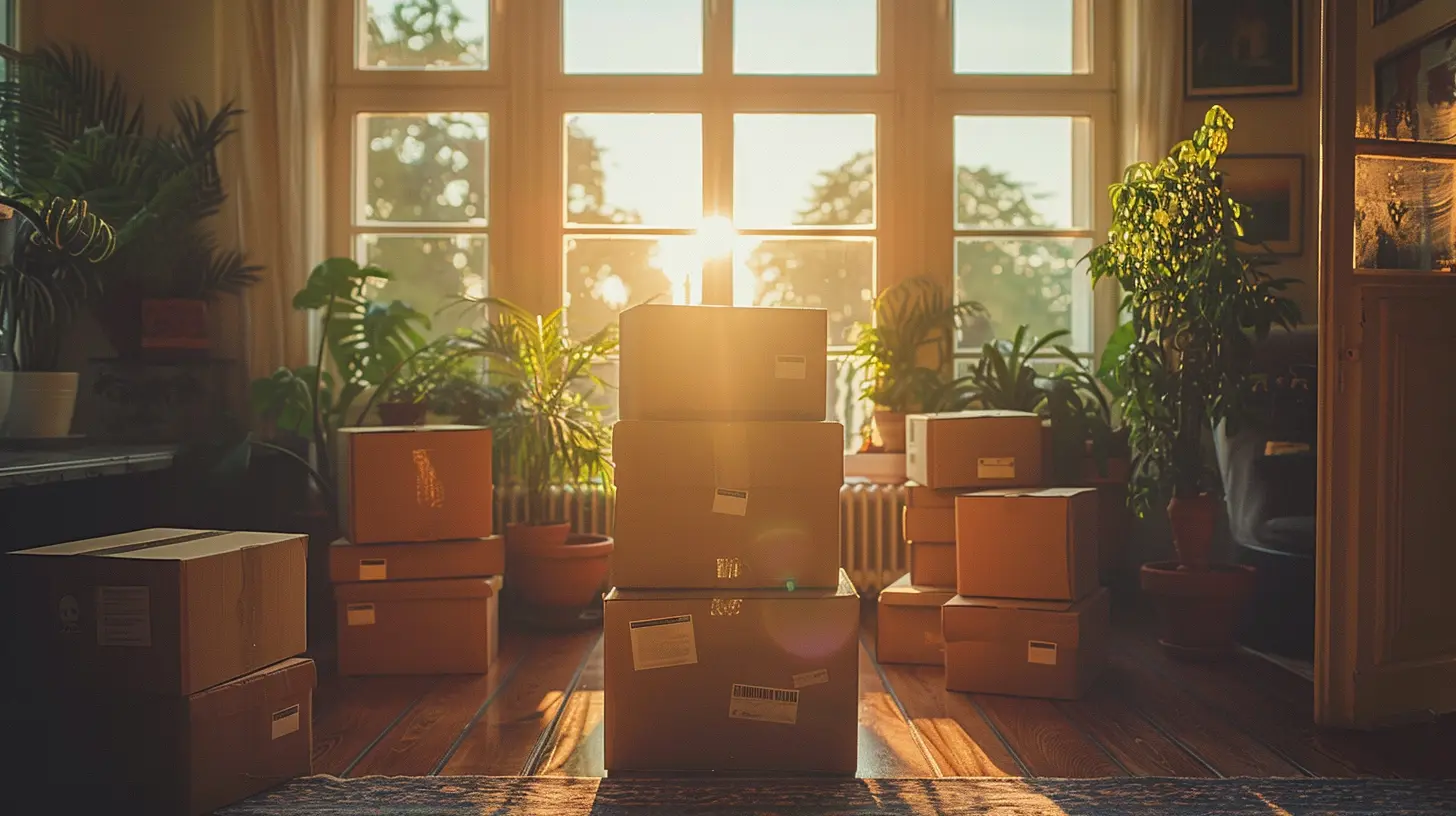
Start Early, Stay Sane
When it comes to moving out, procrastination is the enemy. Start prepping your house at least 4–6 weeks before your move-out date. Why so early? Because the mess will snowball if you let it. Starting early helps you spot issues, declutter in peace, and avoid the last-minute chaos that can turn your moving day into a stress fest.Create a Moving Timeline
First things first — build a checklist. Break down what needs to happen each week leading up to your move. Include tasks like:- Booking movers
- Gathering packing supplies
- Notifying utility companies
- Sorting and decluttering
Having a clear schedule keeps you on track and helps prevent those “Oh no, I forgot!” moments.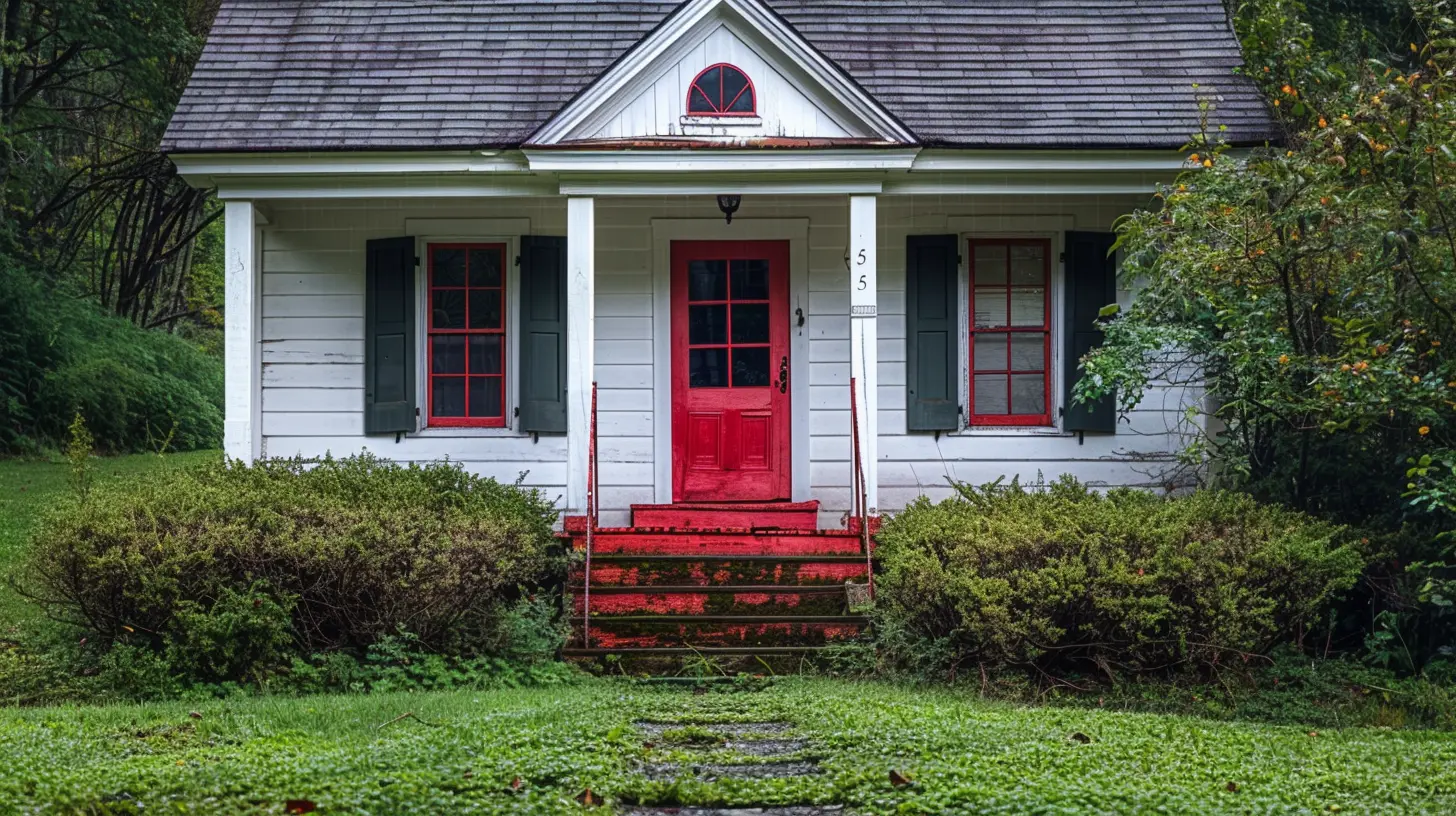
Declutter Like a Pro
Let’s be honest — you have more stuff than you need. Moving is the ultimate chance to declutter.Divide and Conquer
Go room by room and sort your belongings into four major categories:1. Keep – Items you'll definitely use and love.
2. Donate – Still useful but not needed by you.
3. Sell – Worthy of a second life and some extra cash.
4. Toss – Broken, unusable, or expired.
Be ruthless. If you haven’t used that fondue set in five years, it’s probably safe to let it go.
Use the "One-Year Rule"
A good rule of thumb? If you haven’t used it in the last year, you won’t miss it in your new place.
Pack with Purpose
Now that you’ve cleared the clutter, it’s time to pack — and no, stuffing things into random boxes at the last minute doesn’t count.Gather Supplies
Stock up on:- Sturdy boxes in various sizes
- Bubble wrap for fragile items
- Packing paper or newspaper
- Heavy-duty tape
- Sharpies for labeling
- Ziplock bags for small items and screws
Label Everything
Label each box by room and content. Bonus tip — color-coding your boxes by room with colored tape or markers can make unpacking a breeze.Also, keep a "first-night box" with essentials like toilet paper, phone chargers, snacks, and pajamas. You’ll thank yourself later.
Take Care of Home Repairs
Here’s the deal — whether you’re selling or renting, your old home should be move-out ready. That means no leaky faucets, squeaky doors, or cracked tiles.Tackle the Small Stuff
Walk through your home like a buyer would. Notice anything that needs fixing? Patch up holes in the walls, replace burned-out lightbulbs, fix that cabinet door that always sticks.These may seem minor, but they make a big difference in the final impression your home leaves.
Hire Help If Needed
If you've got big repairs (plumbing, electrical, roofing), don’t DIY unless you know what you're doing. Hiring a professional might cost a bit, but it could also save you from losing money in the long run.Deep Clean Every Nook and Cranny
A clean house is a happy house. It’s respectful to leave the place clean for its next occupant — and it’s one less thing they’ll have to worry about.Room-by-Room Cleaning Checklist
- Kitchen:- Empty and wipe down cabinets
- Clean appliances (especially the oven and fridge)
- Mop floors
- Bathrooms:
- Scrub toilets, tubs, and sinks
- Wash mirrors
- Sweep and mop floors
- Bedrooms/Living Areas:
- Dust ceiling fans, blinds, and baseboards
- Vacuum carpets and wash floors
- Garage/Basement:
- Sweep floors
- Dispose of hazardous materials properly
If cleaning isn’t your thing, consider hiring a move-out cleaning service. It could be worth it for peace of mind.
Organize Important Paperwork
There’s more to moving than just boxes. Make sure you gather and safely store all important documents related to your house and your move.Think:
- Warranties for appliances staying behind
- Manuals
- Receipts for any recent repairs
- Closing documents or lease agreements
- Moving contracts
Use a file folder or digital folder (or both). You’ll want easy access to these, especially during the transition.
Transfer or Shut Off Utilities
You don’t want to pay for someone else’s electricity, right? A couple of weeks before moving day, start the process of transferring or canceling utilities and services.Notify These Providers:
- Electric- Gas
- Water
- Internet & cable
- Trash & recycling
- Security services
- Magazine subscriptions
Set stop/start dates to avoid overlaps or service gaps.
Inform the Right People
Make a list of who needs to know about your move. It’s more than just friends and family.Update Your Address With:
- USPS (they’ll forward your mail for 12 months)- Banks and credit card companies
- Insurance providers
- Voter registration
- Employer
- Schools
- Doctor and dentist offices
You can update many of these online — just don’t forget!
Prep Appliances and Systems for the Move
Leaving appliances behind? Great. But make sure they’re clean and ready for the next person.- Fridge: Defrost it a day or two before you leave. Wipe it down and let it dry.
- Washer/Dryer: Clean the lint trap and wipe down the drum.
- HVAC: Replace filters and check for issues.
- Water Heater: Turn it off if the home will be vacant for a while.
If you're taking appliances with you, disconnect them properly and secure any loose parts.
Take Final Photos (Just in Case)
Before you shut the door for the last time, snap photos of each room. If you’re renting, this can help protect you from unreasonable damage claims. If you’re selling, it’s just a great way to remember your home.Plus, if anything goes wrong right after you leave — like a sudden leak or damage claim — you've got proof of the home's condition when you moved out.
Leave It Better Than You Found It
You don’t need to roll out the red carpet, but a little courtesy goes a long way.Leave a short note for the new owners or tenants with any helpful info. Where’s the water shutoff valve? How does the fireplace work? What’s the Wi-Fi password?
Consider giving them:
- Spare keys
- Garage door openers
- Warranty info
- Trash pickup schedule
It’s classy, kind, and the type of thing you'd appreciate if you were moving in.
Final Walkthrough and Lock-Up
Do one last walkthrough of every room. Check closets, drawers, the attic, garage — anywhere things might have been left behind. Trust me, your passport or grandma's jewelry box doesn't want to be abandoned behind the water heater.Once you're sure everything’s cleared and clean, lock all doors and windows. If you’ve sold the place, hand over keys as agreed in your contract.
Wrapping It Up
Preparing your old home for moving day is part closure, part logistics, and part peace of mind. When you take the time to do it right, you'll feel better walking into your new space with a clear head and a clean slate.Don’t wait until the last minute. Start now, stay organized, and make the experience as smooth as possible — for you and for whoever calls your old house “home” next.
all images in this post were generated using AI tools
Category:
Moving TipsAuthor:

Elsa McLaurin
Discussion
rate this article
1 comments
Kara Wells
Old homes have stories; just make sure they’re packed up neatly before the next chapter begins!
October 28, 2025 at 12:20 PM
Elsa McLaurin
Absolutely! Every old home has history; packing thoughtfully ensures those stories transition smoothly to your new chapter.