The Importance of Labeling Your Moving Boxes Correctly
15 June 2025
Moving to a new home can feel like orchestrating a symphony—there are so many parts moving at once, and if one thing is out of sync, it can throw off the whole process. One of the most underrated yet crucial aspects of a smooth move is labeling your moving boxes correctly. It might seem like a minor detail, but trust me, when you're knee-deep in a sea of cardboard boxes, searching for your essential items, you'll wish you had taken the time to label them properly.
In this guide, we'll break down why labeling your moving boxes is essential, how to do it effectively, and some pro tips to make your move as seamless as possible.
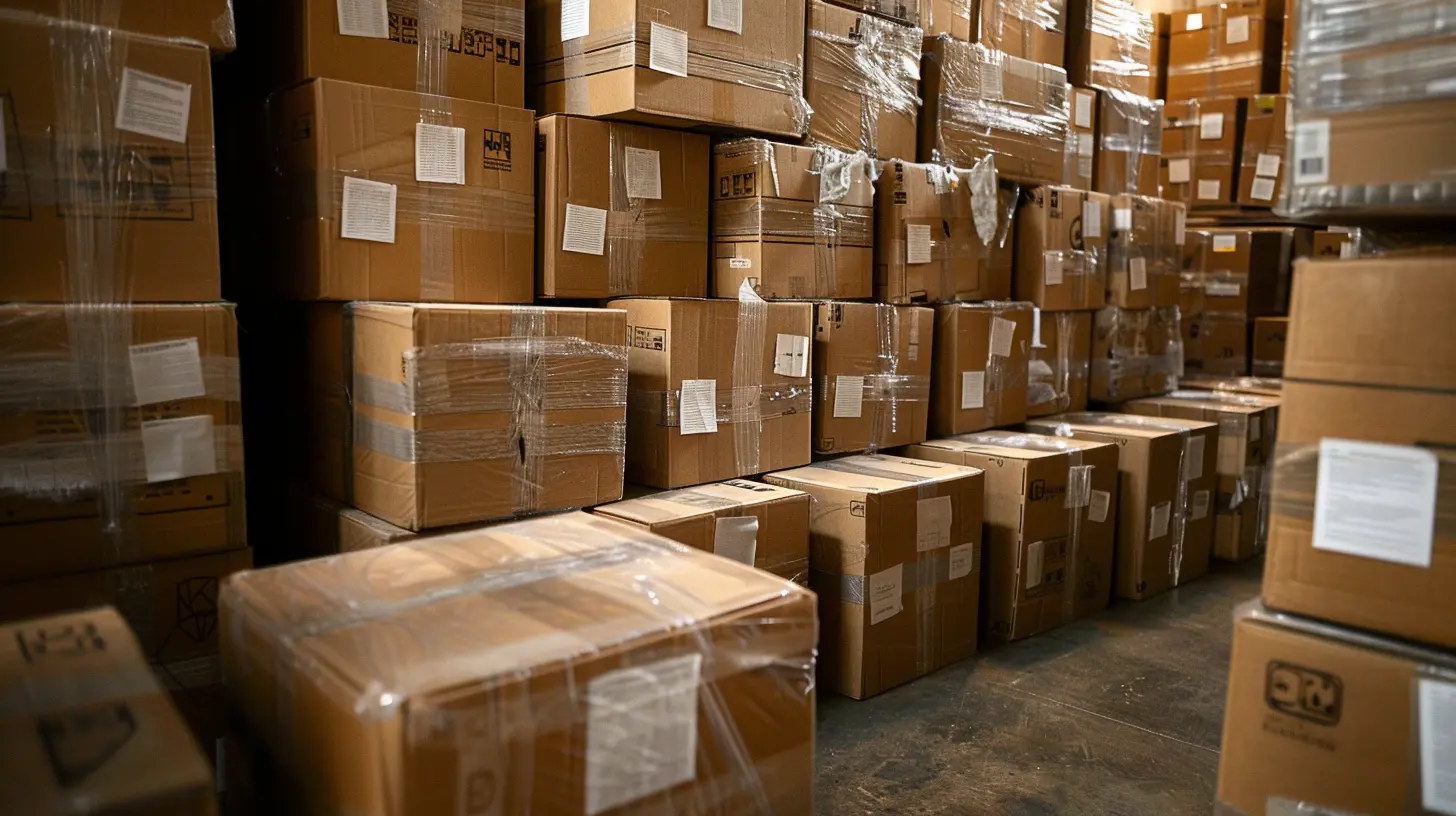
Why Proper Labeling Matters
1. Saves Time and Reduces Stress
Imagine this: you’ve just arrived at your new home after a long day of moving, and you desperately need to find your toothbrush and fresh clothes. But instead of effortlessly retrieving them, you’re tearing through unmarked boxes like a detective on a case. Frustrating, right?Correct labeling eliminates this headache by allowing you to quickly identify what’s inside each box. Instead of spending hours hunting for necessities, you can have everything sorted in minutes.
2. Helps Movers Handle Boxes Properly
If your moving boxes are properly labeled, professional movers (or even your helpful friends and family) will know exactly where to place each one. A box marked "Kitchen - Fragile" will find its way to the kitchen instead of mistakenly being piled in the bedroom.This simple step also prevents fragile items from being mishandled. Marking boxes with “Fragile” ensures that everyone handling them knows to treat them with extra care.
3. Prevents Damage to Your Belongings
Nobody wants to unpack a box only to find broken dishes or shattered picture frames. Moving is already stressful enough without adding unnecessary losses. When you clearly label fragile items, movers will know to keep them upright, avoid stacking heavy boxes on top, and transport them carefully.4. Simplifies the Unpacking Process
Picture this: You're in your new home, staring at a mountain of boxes with no idea where to start. A well-labeled system is like having a roadmap—it guides you through the unpacking process. Instead of opening every single box to find what you need, you can prioritize unpacking one room at a time.Labeling also allows you to unpack essential items first and leave the less urgent ones for later.
5. Keeps Inventory in Check
When you label your boxes correctly, it’s much easier to track your belongings. If any box goes missing during the move, you’ll know exactly what’s in it and can quickly identify whether it needs to be found or replaced.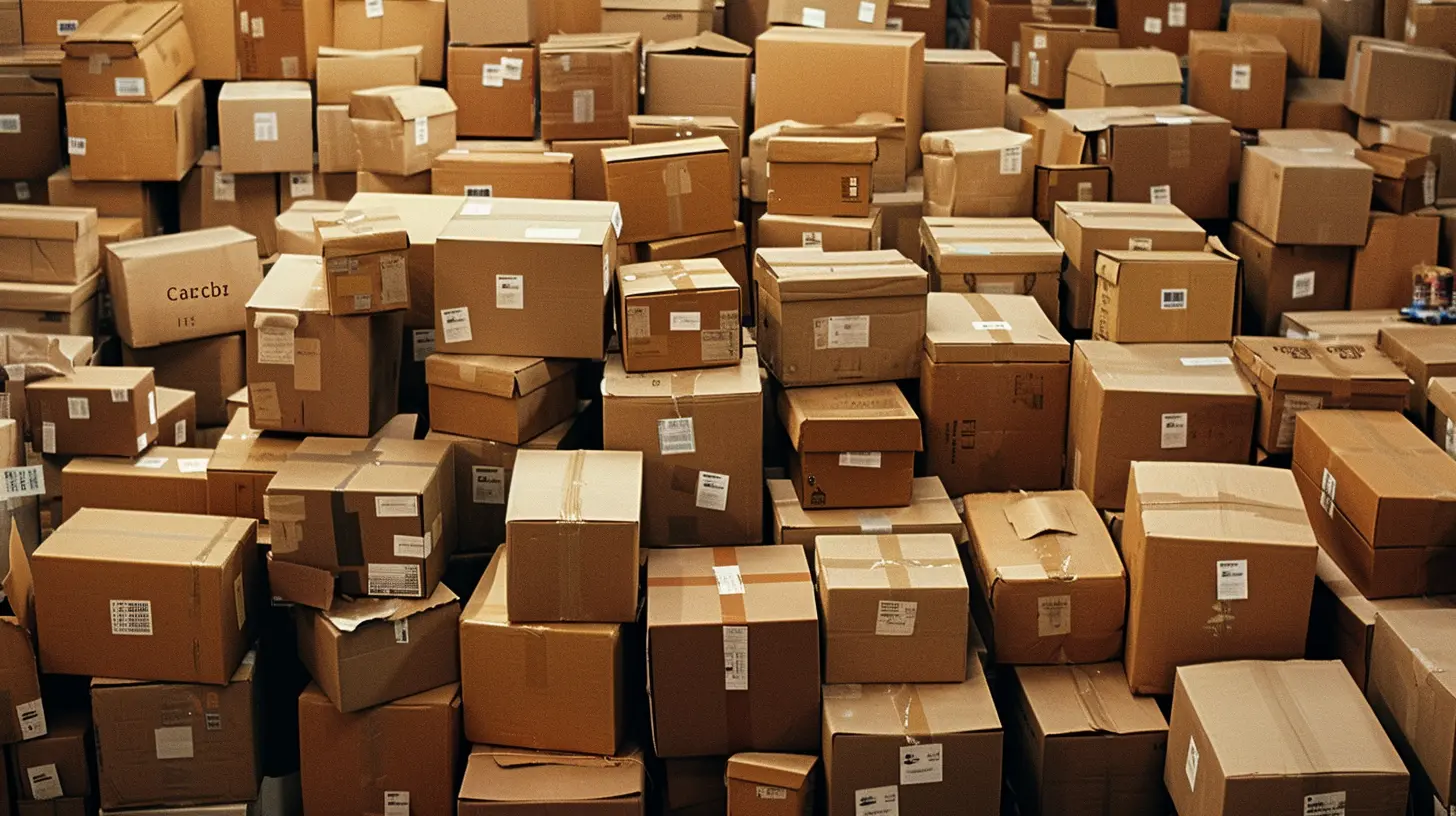
How to Label Your Moving Boxes Like a Pro
Now that we’ve established why proper labeling is crucial, let's dive into the how.1. Use a Clear Labeling System
There are several ways you can label your moving boxes effectively:- Room-based labeling: Write the destination room on each box (e.g., "Living Room," "Master Bedroom," "Kitchen").
- Content-based labeling: Add a brief description of what’s inside (e.g., "Winter Clothes," "Books & Magazines," "Kitchen Utensils").
- Priority-based labeling: Indicate which boxes contain essential items that need to be unpacked first (e.g., "Open First").
2. Use Color Coding
If you want to take your labeling to the next level, try color coding! Assign each room a color and use colored tape or stickers to mark the boxes. For example:- Red tape for kitchen boxes
- Blue tape for bedroom boxes
- Green tape for living room boxes
This visual system makes it easier for movers (and you) to quickly identify where each box belongs.
3. Label Multiple Sides of the Box
Don’t just label the top of the box—write on at least two or three sides. That way, no matter how the box is stacked, you can still see what’s inside without having to move everything around.4. Mark Fragile Boxes Clearly
If a box contains delicate items like glassware or electronics, boldly write “FRAGILE” on multiple sides. You can also add “This Side Up” arrows to indicate the proper orientation for handling.5. Number Your Boxes
Numbering your boxes and keeping a master list (either physically or digitally) helps you track everything. This comes in handy if anything goes missing during transit.For example:
- Box 1 - Kitchen - Pots & Pans
- Box 2 - Bedroom - Bedding & Linens
- Box 3 - Living Room - Decorative Items
6. Use Waterproof and Smudge-Resistant Markers
Handwritten labels are great, but only if they stay legible! Use permanent markers that won’t smear or fade over time. Avoid using ballpoint pens, as they can be too light to read.7. Consider Digital Labeling with QR Codes
If you’re tech-savvy, take advantage of digital labeling by using QR codes. Apps like Sortly allow you to catalog each box’s contents and generate a scannable QR code. Stick the code on the box, and you can easily check what’s inside by scanning it with your phone.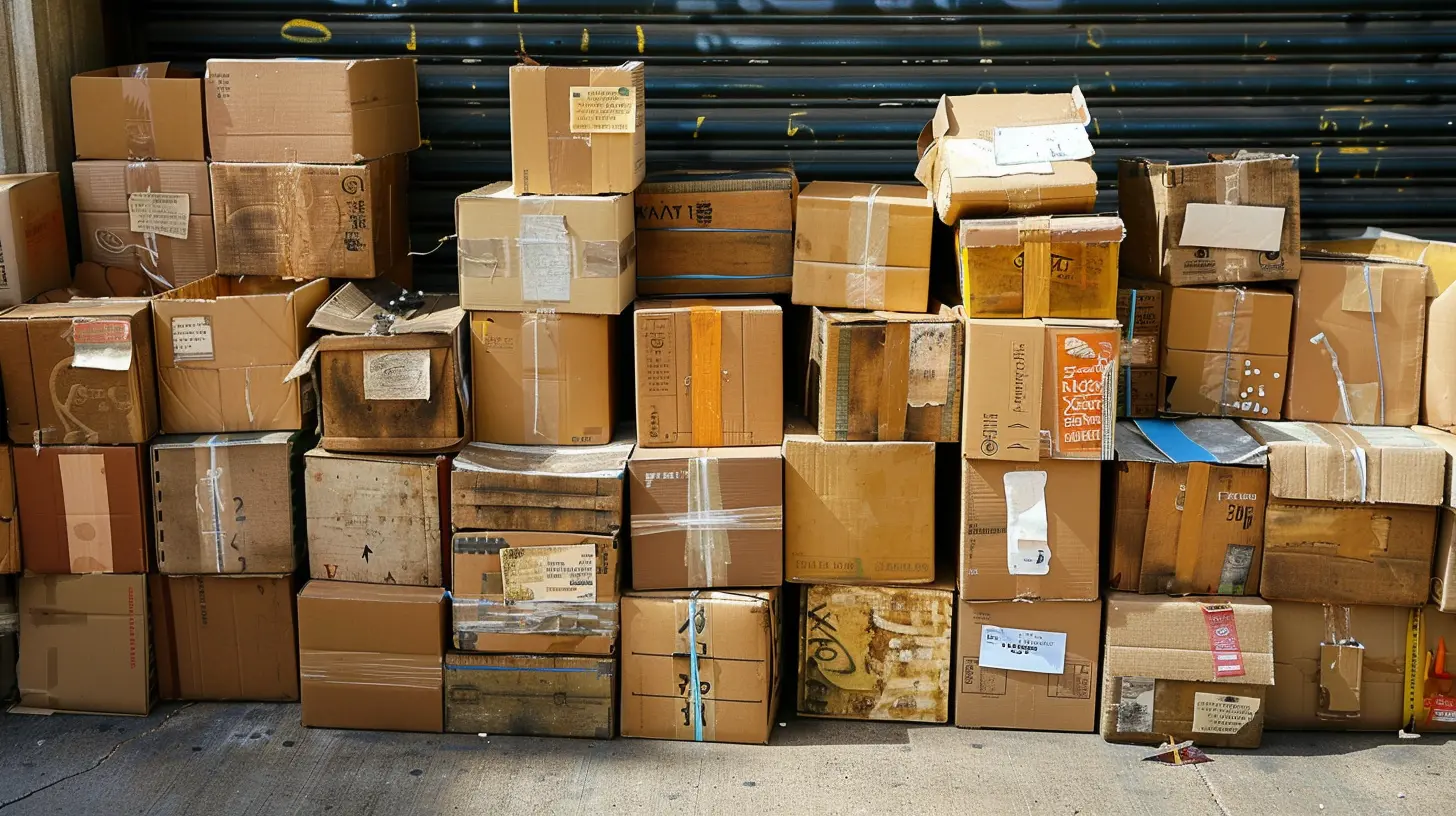
Pro Tips for Effortless Labeling
- Label as you pack – Don’t wait until all the boxes are packed to start labeling. It’s easier to keep track if you label immediately.- Use high-contrast colors – Dark ink on light boxes ensures maximum readability.
- Reinforce labels with packing tape – This protects labels from peeling or smudging.
- Keep an "Essentials" box – Clearly mark a box with “Essentials” that includes must-have items like toiletries, important documents, medications, and phone chargers.
Final Thoughts
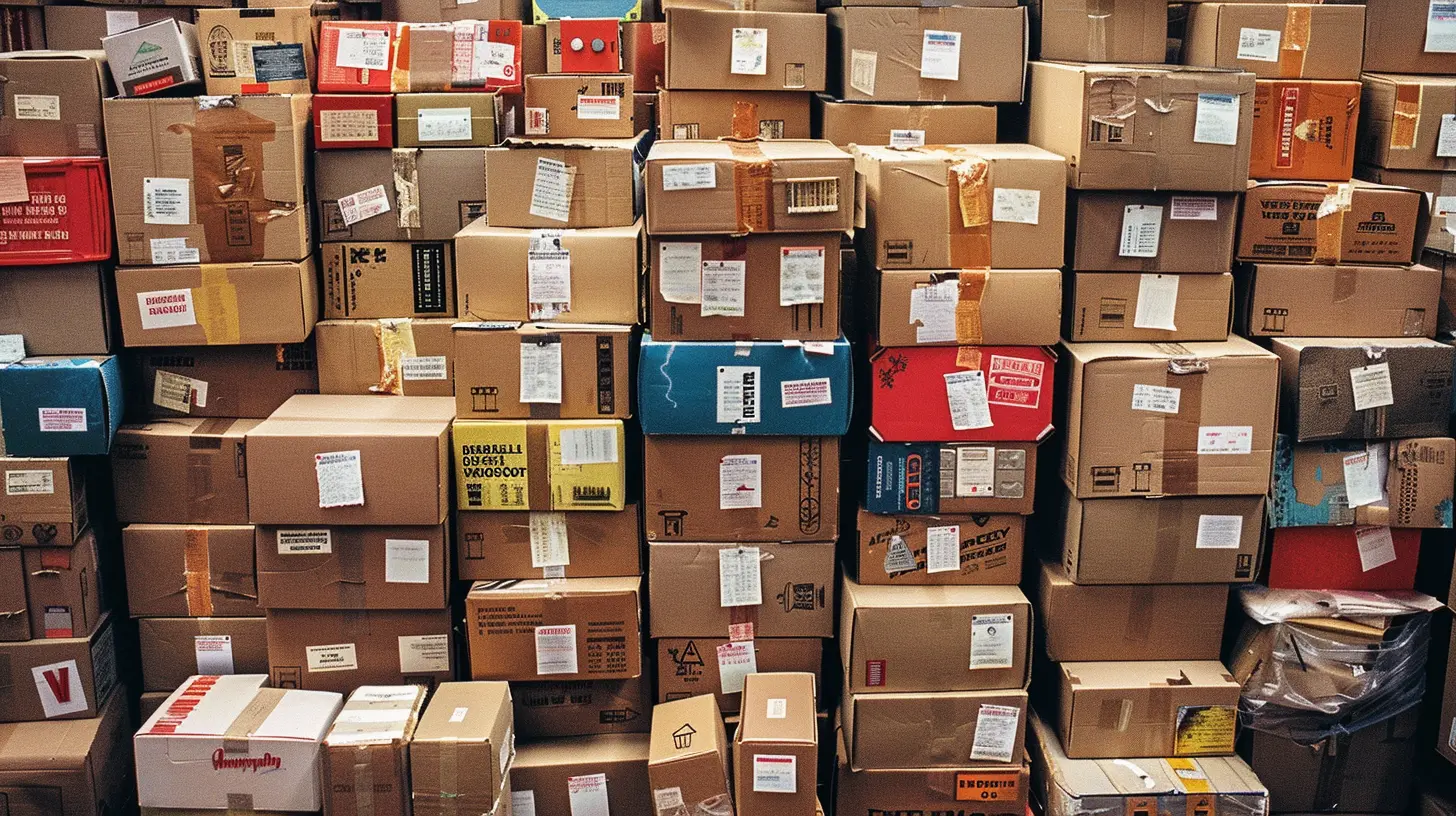
Labeling your moving boxes correctly isn’t just a nice-to-have—it’s a game-changer for a smooth and stress-free move. Taking the extra time to create a clear, organized system will save you hours of frustration later on.Remember, the goal is to work smarter, not harder. With an effective labeling strategy in place, you’ll be able to settle into your new home with ease, rather than drowning in a pile of mystery boxes. Happy moving!
all images in this post were generated using AI tools
Category:
Moving TipsAuthor:

Elsa McLaurin
Discussion
rate this article
2 comments
Mara Mercado
Great tips! Labeling saves time and sanity!
June 20, 2025 at 3:01 AM

Elsa McLaurin
Thank you! I'm glad you found the tips helpful. Happy moving!
Erica Sanders
Labeling boxes isn't just smart—it's essential! Don't play hide and seek with your stuff!
June 16, 2025 at 2:38 AM

Elsa McLaurin
Absolutely! Labeling helps you stay organized and makes unpacking a breeze. Don't underestimate its importance!


